I completed a weekend class yesterday, but not the project. The class was building a vacuum press. The vacuum pump, plumbing and electrical came as a kit. The first day was spent making the vacuum frame. The teacher, Mark Osgood, supplied CNC cut parts. These were removed and assembled into a torsion box, about 2' X 4'. A 1/4" plywood top and bottom were glued and nailed in place. A 1/4" of plywood with melamine on both sides was then glued and nailed on as well. The nail holes in the melamine were sealed with epoxy, but the epoxy was tacky and the epoxy formed lumps.
The first work at home this morning was removing all of these lumps of epoxy with a chisel. The chisel, when carefully applied removed the epoxy. Sometimes the excess epoxy was cut free, but other times the epoxy popped out of the nail hole. These holes were circled. A batch of epoxy was made up and applied to these nail holes. It was left to dry.
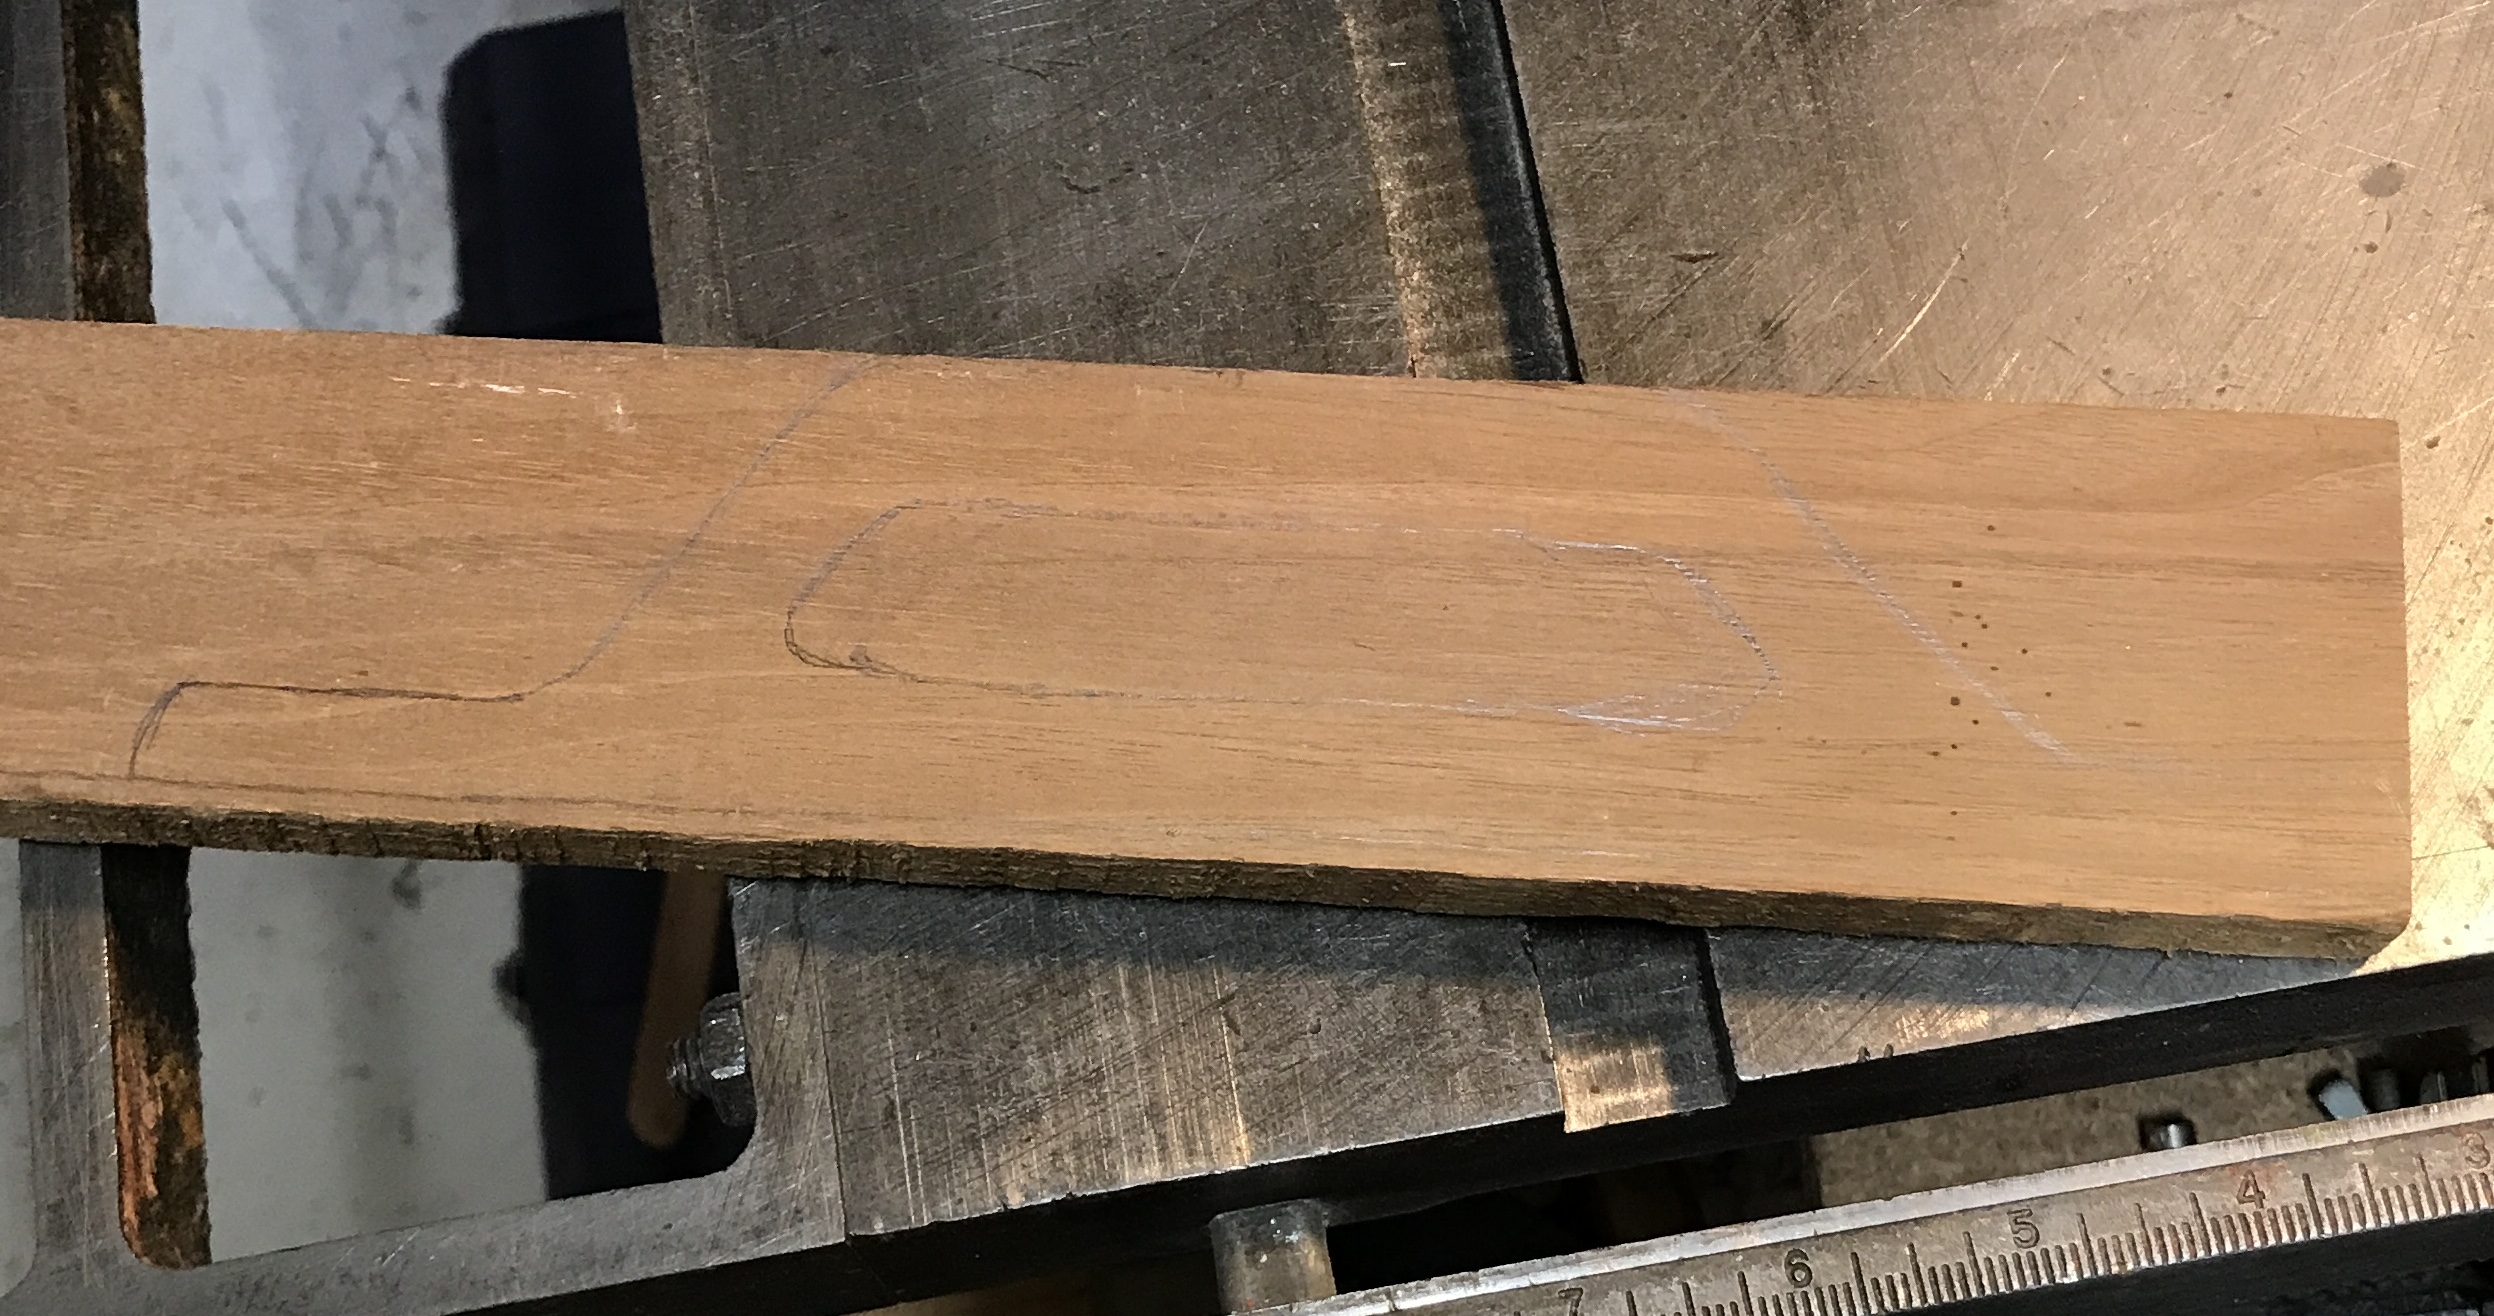
The box has holes for carrying, but these are too small being constrained by the cross pieces in the torsion box. A handle was made. A simple design was drawn onto a piece of 3/4" walnut. This part was cut out with the table saw and then the scroll saw. The scroll saw had its usual hiccups. The exterior of the part was rough sanded on the belt sander. The exterior was sanded to 120 grit. The interior was cleaned up with a chisel and then sanded with 80 grit and 120 grit paper.
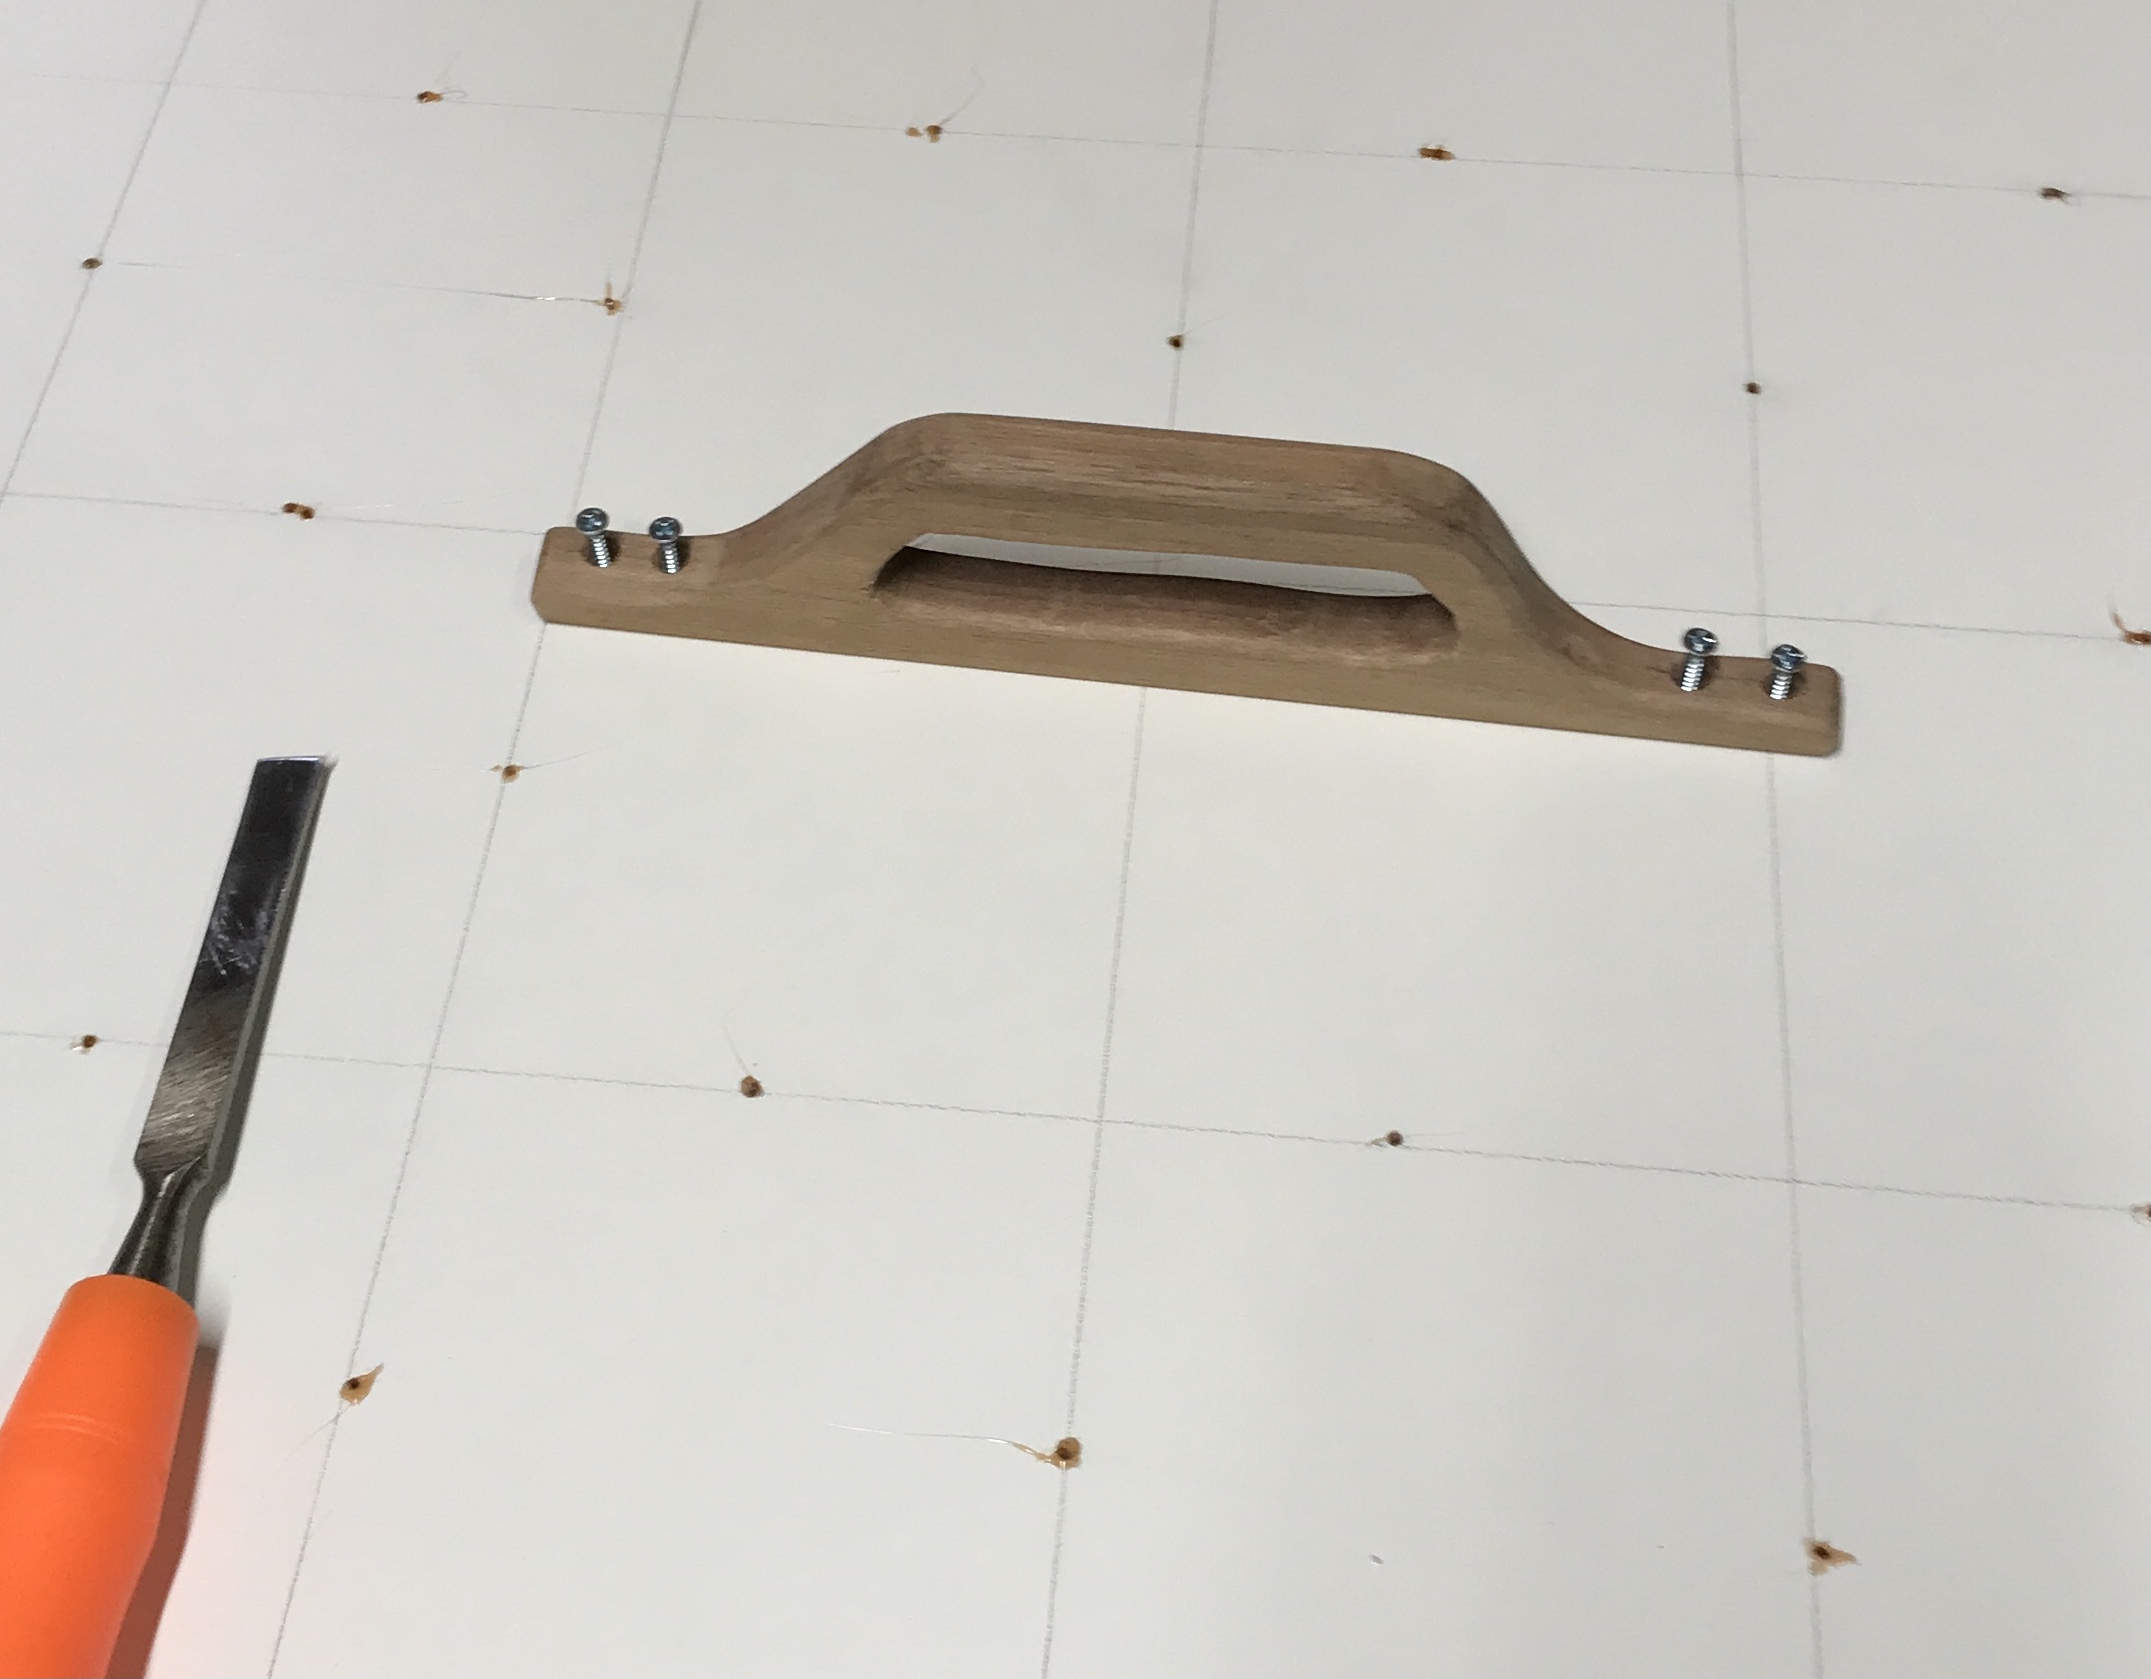
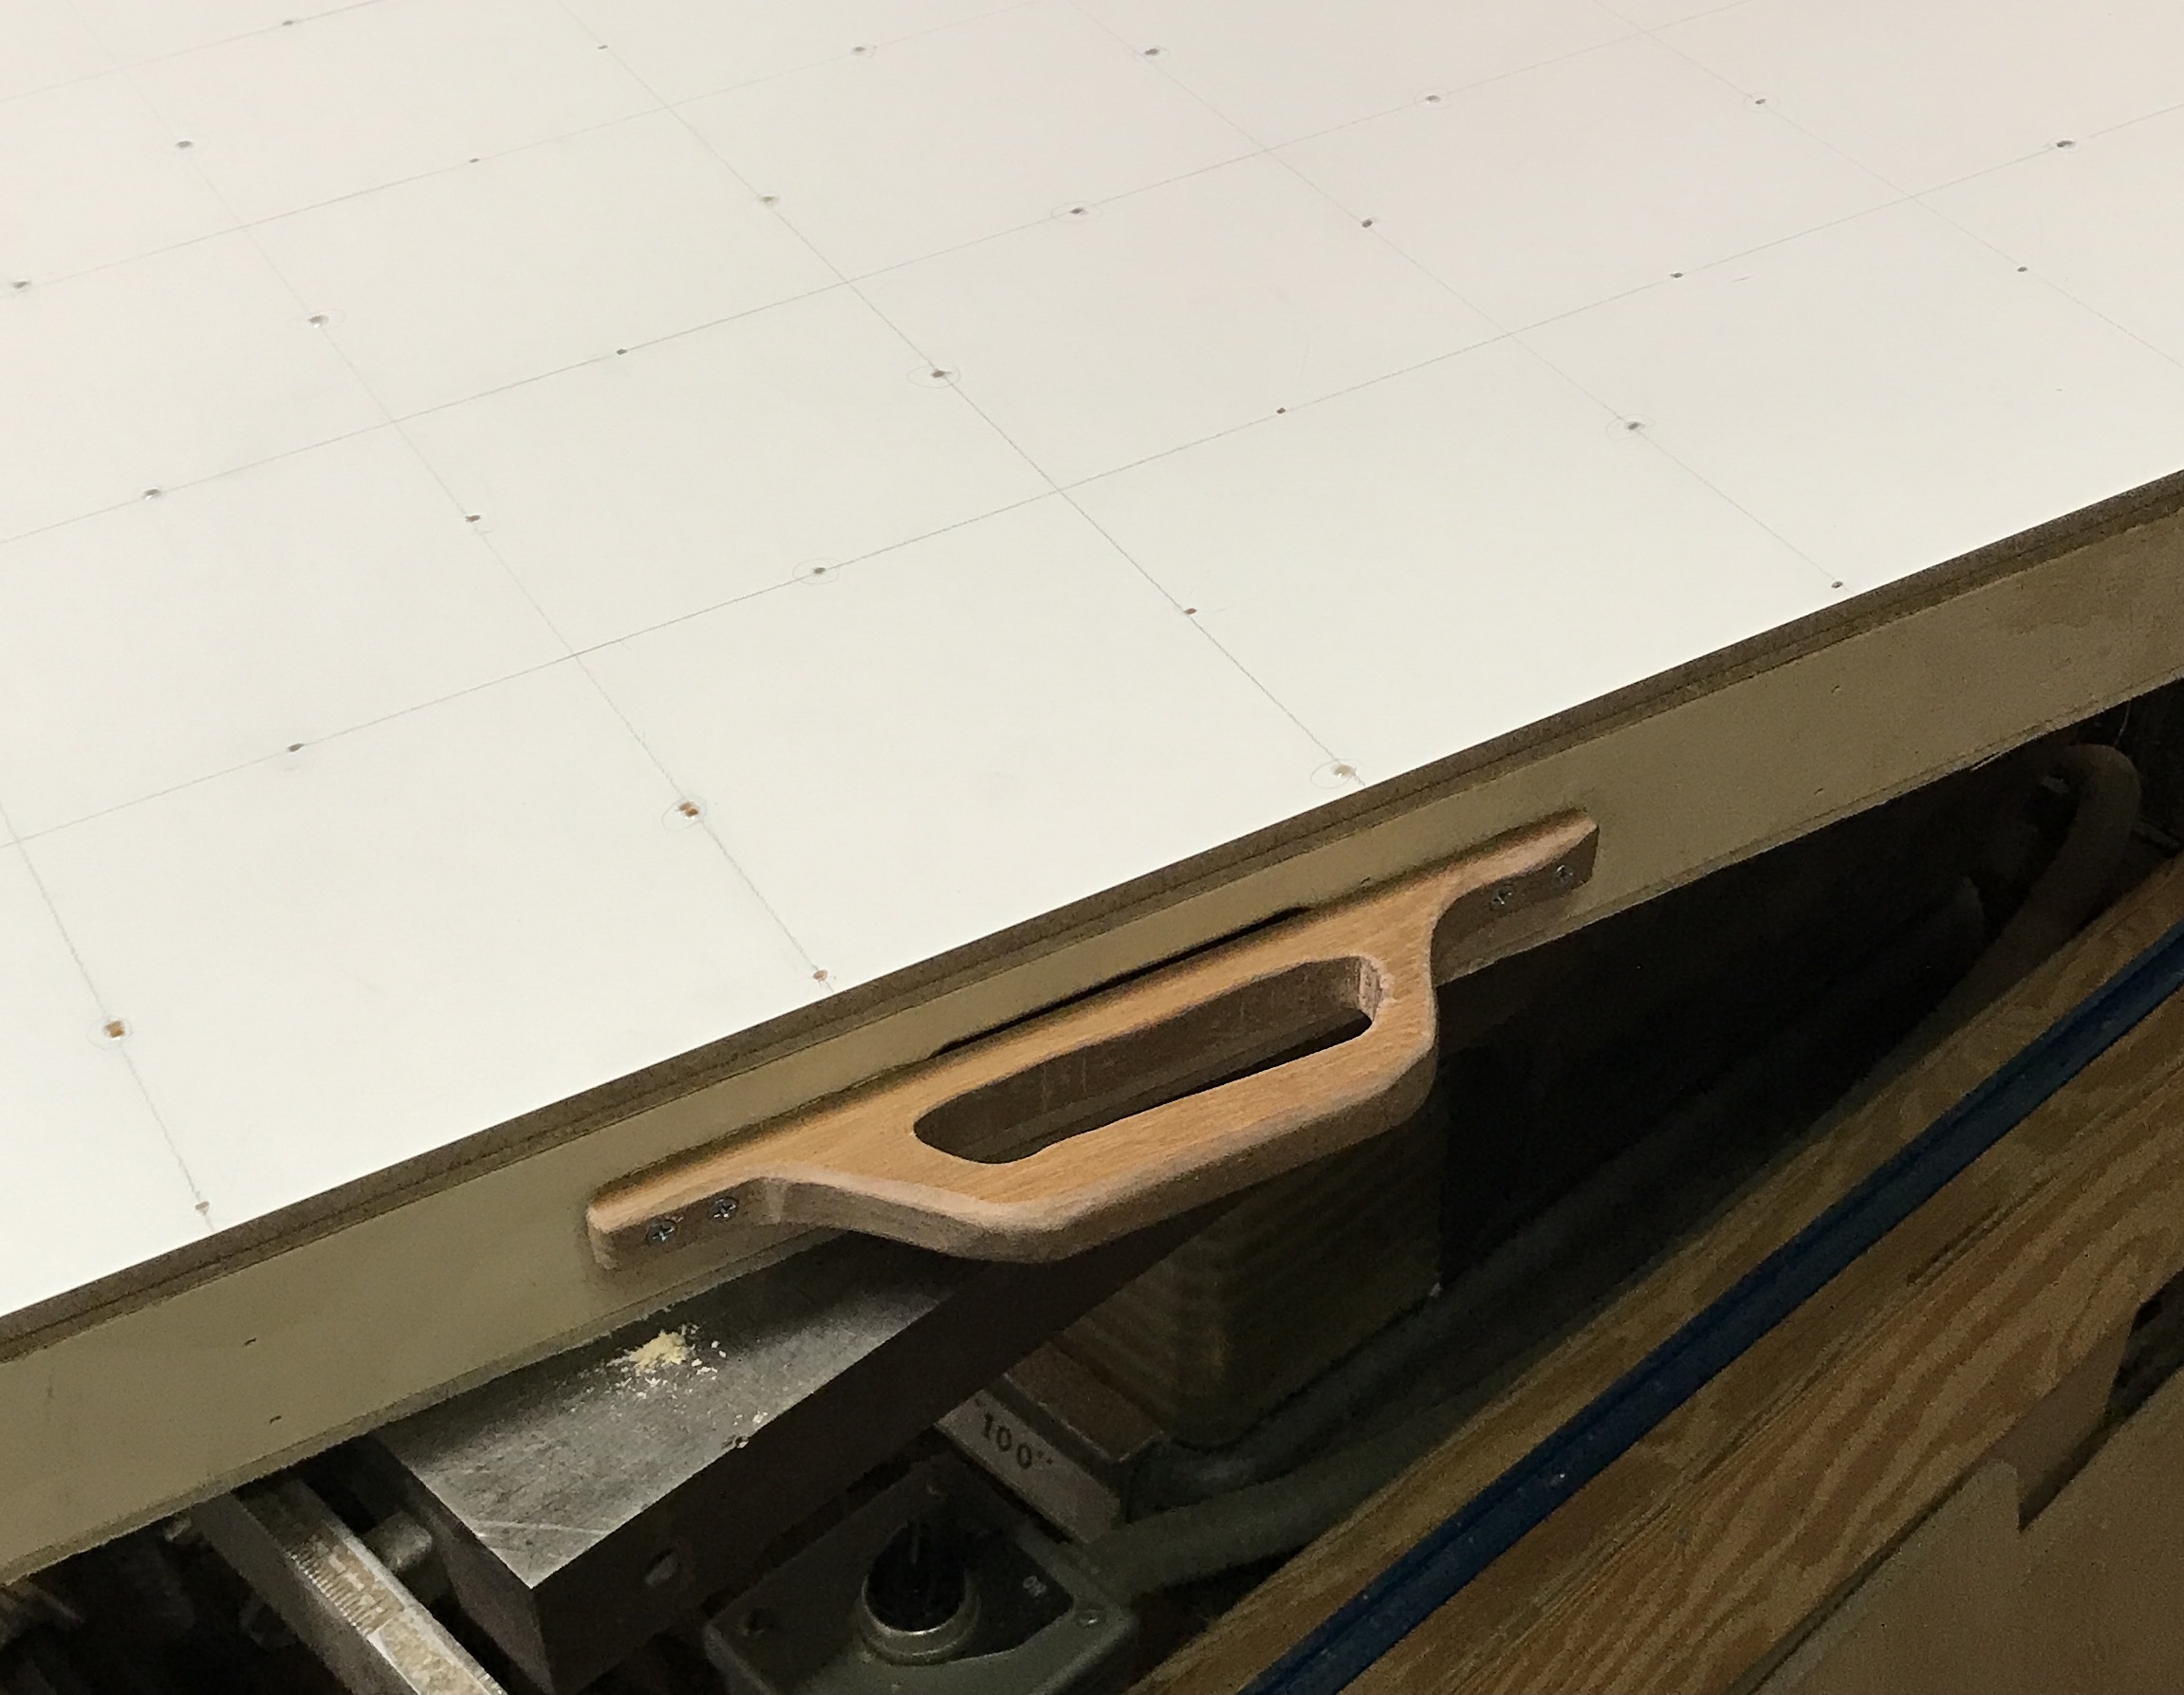
Four holes were laid out and drilled as through holes for #6 X 3/4" screws. The holes were also chamfered. The handle was aligned with the center of the box and one screw hole was drilled. A screw was installed and the screw at the opposite end was screwed in without a pilot hole. The handle was removed, epoxy was added, and the handle was screwed into place. The outer sides of the box were sanded to remove glue, burrs, and sharp corners. This completes the box unless I later discover it does not hold vacuum.
The pump is next. I was unable to finish it as I broke one of the plastic parts, filter, screwing it in place. Attempts to repair it with super glue failed. Mark had an extra on hand and sold it to me. This part need to be screwed into place and then the motor can be wired and the plumbing completed.
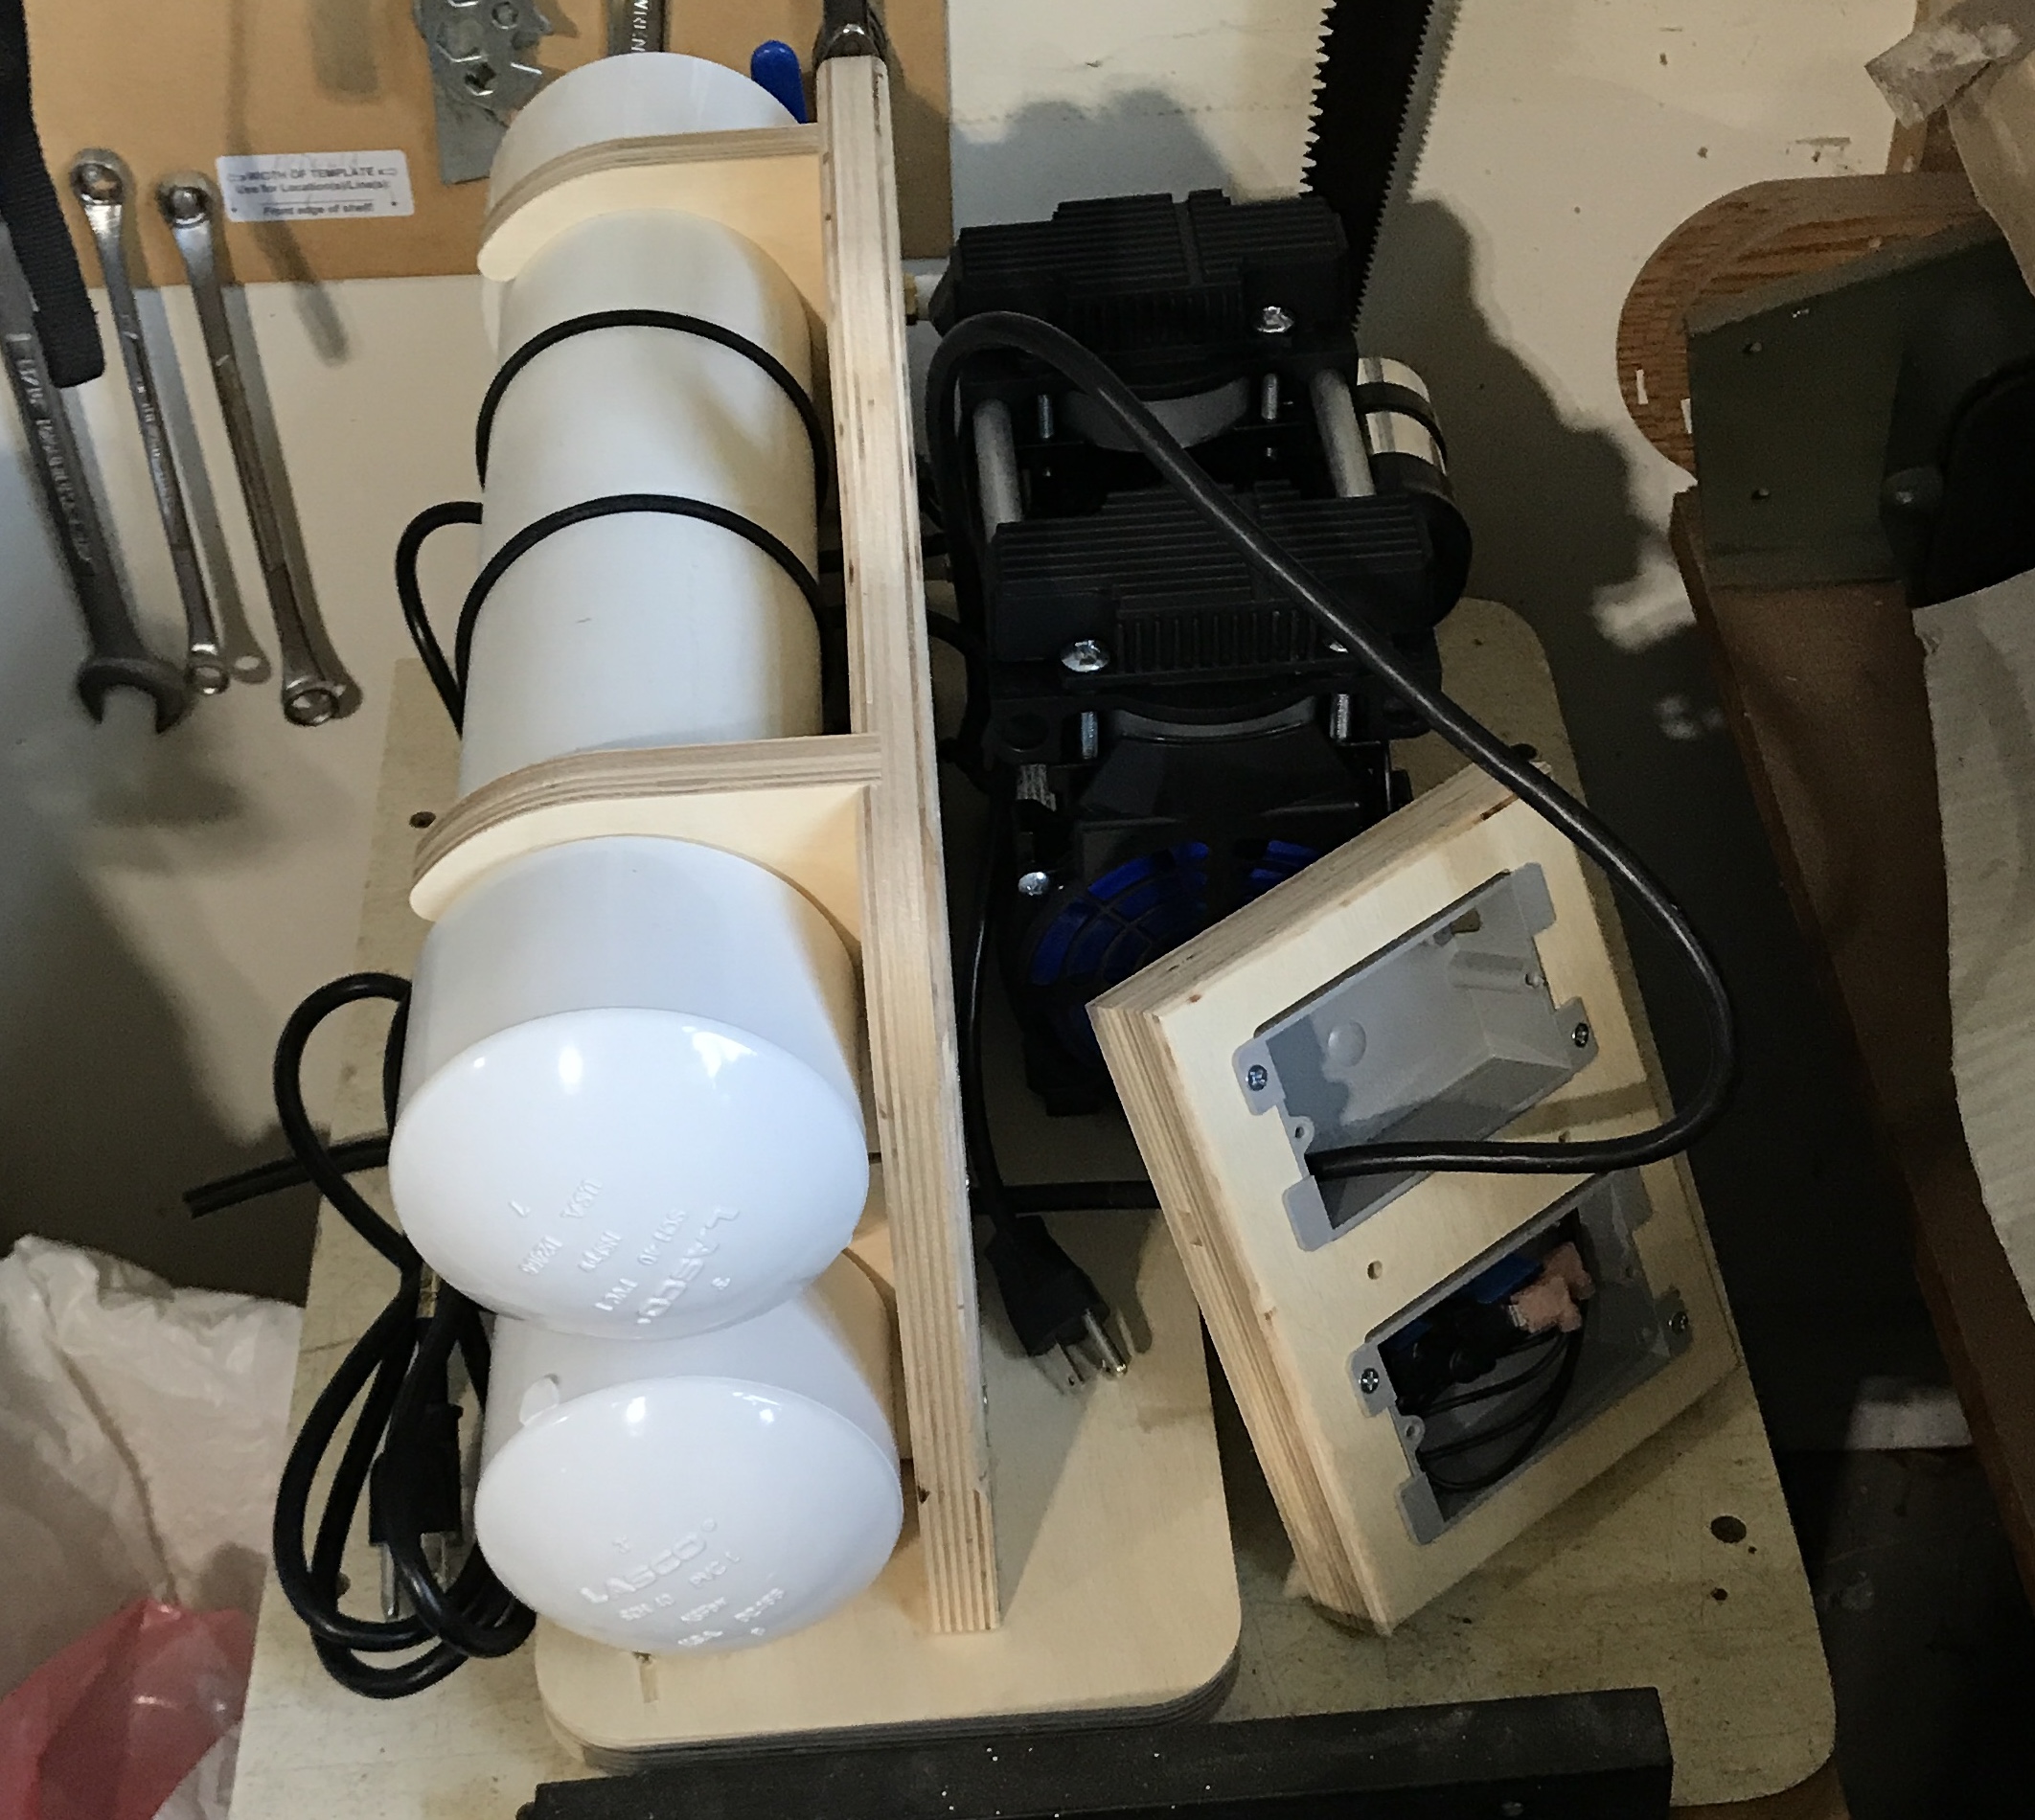
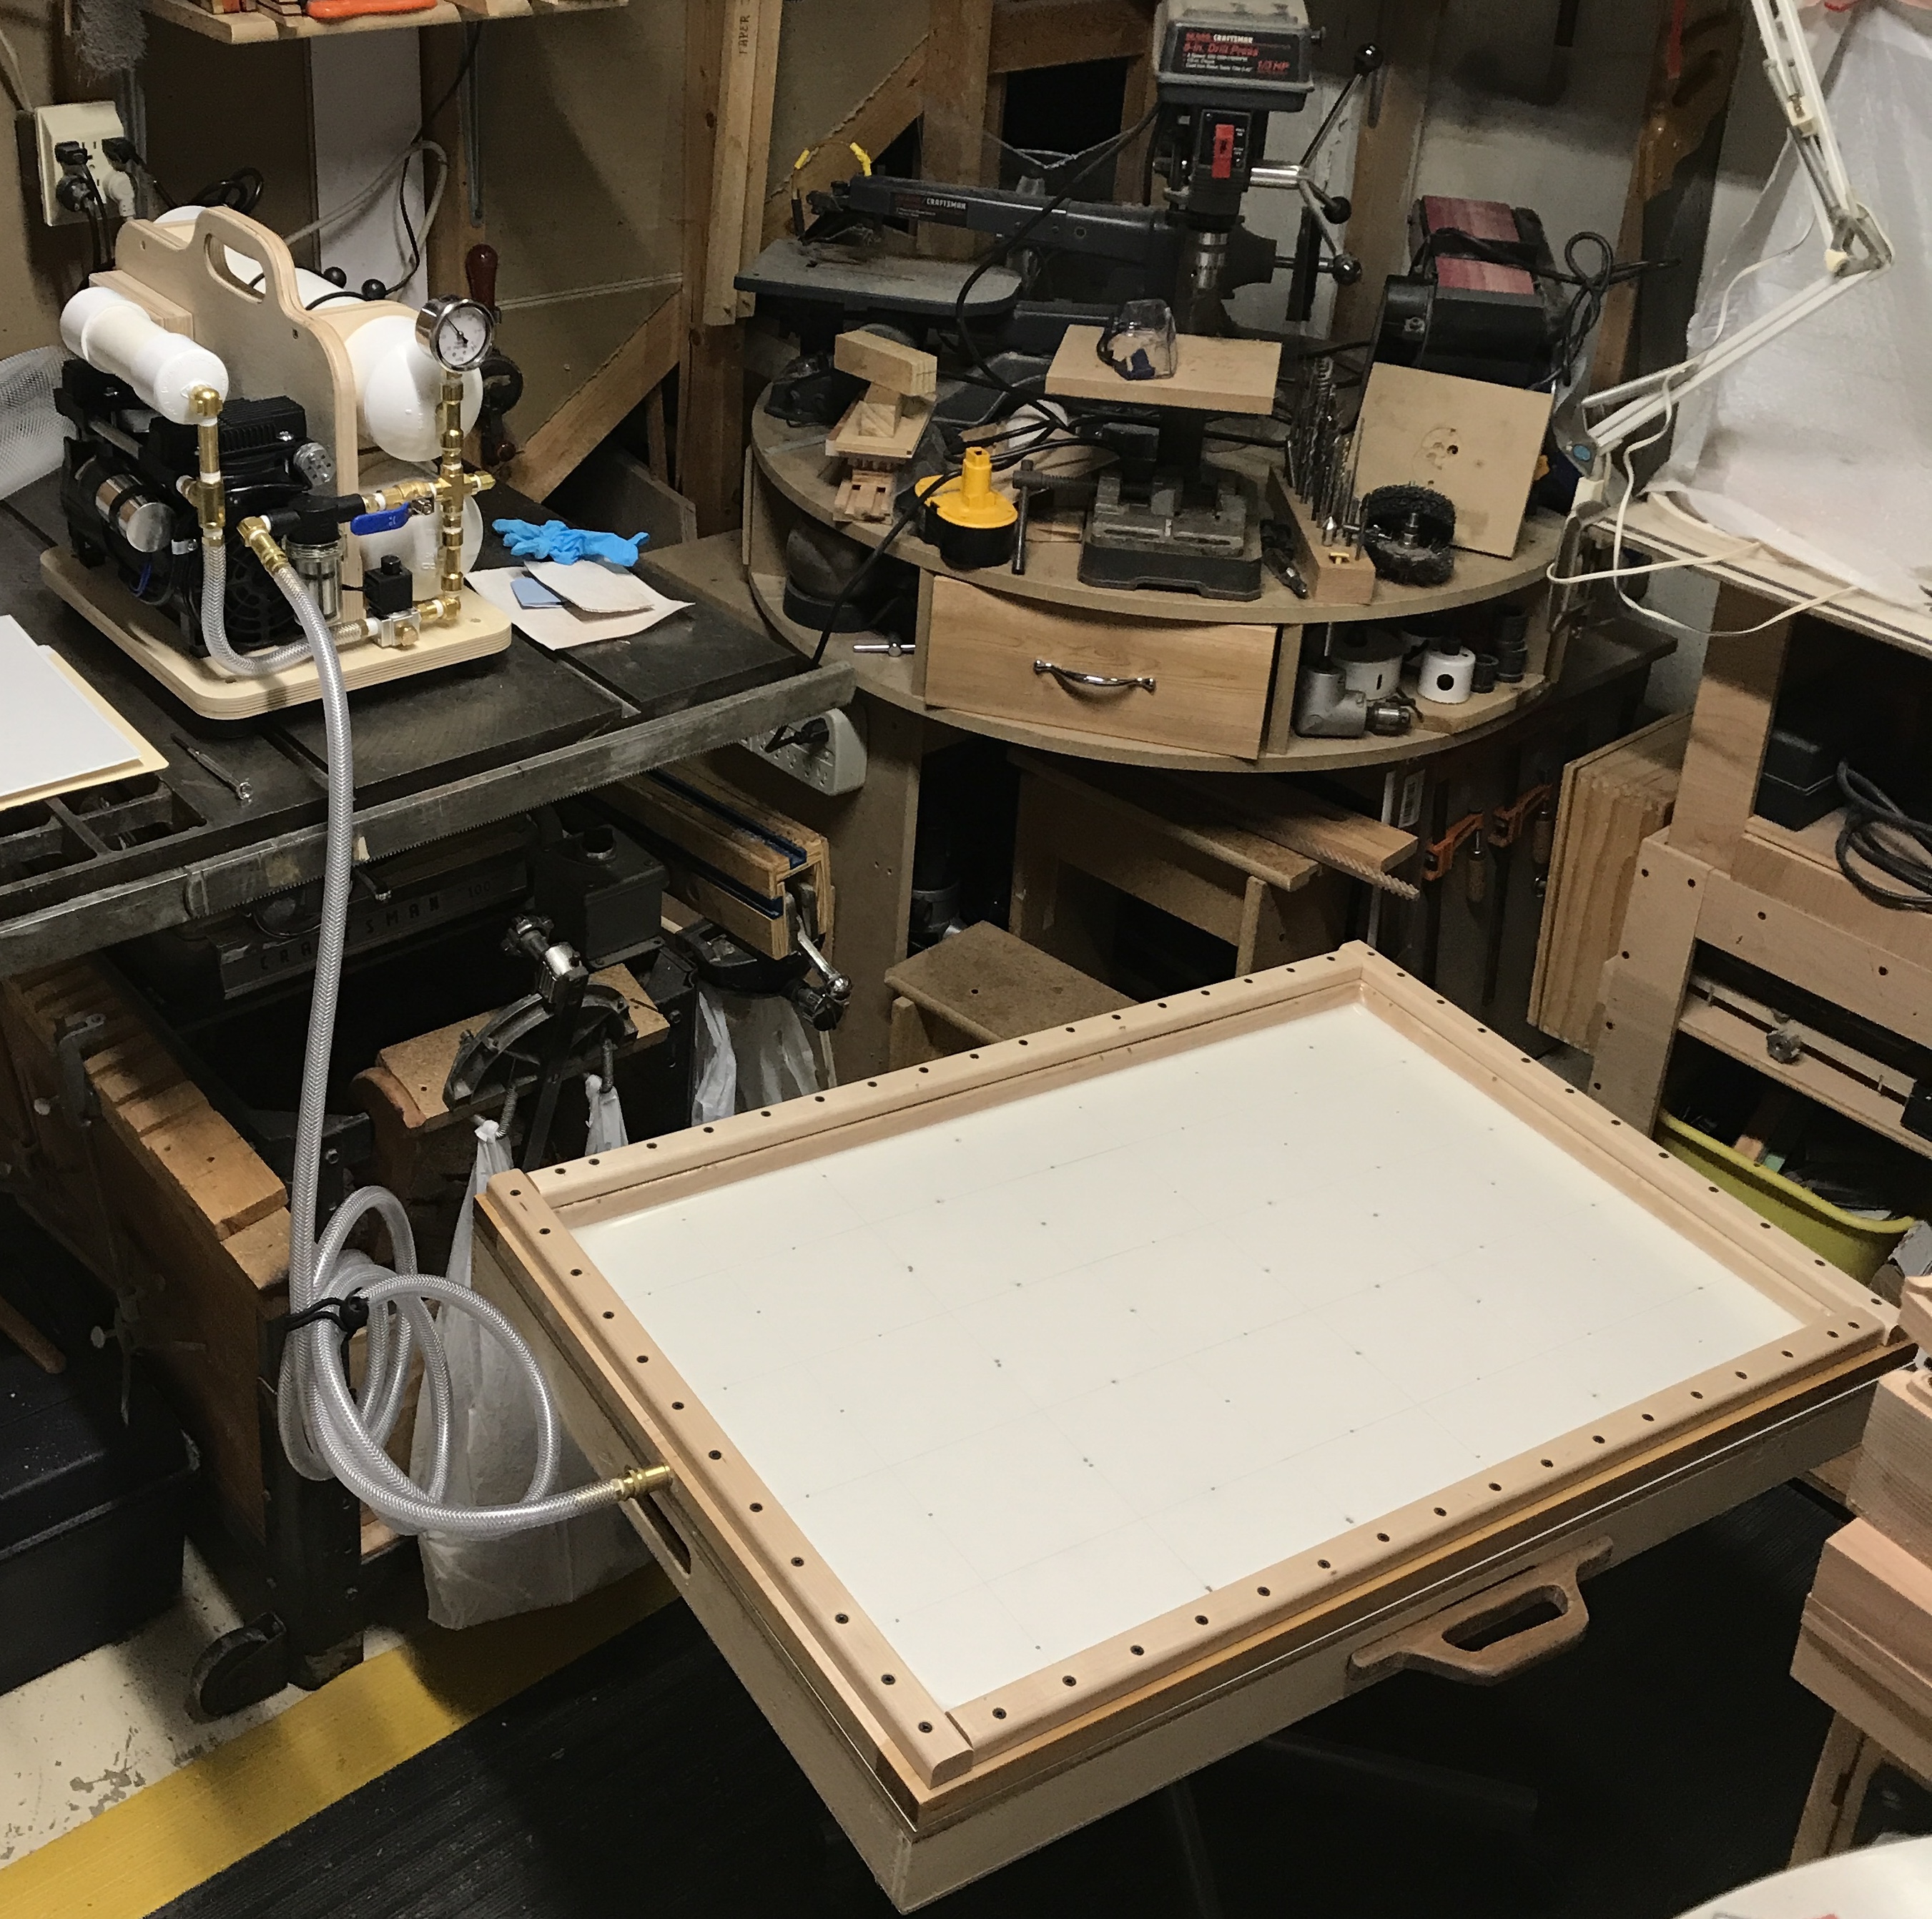
The wiring and plumbing was finished and the pump was tested. The pump was plugged in, the switch was turned on and the vacuum handle left in the closed position. Nothing happened. The setting on the vacuum sensor had to be adjusted. A small cap was pried off and the sensor was rotated counterclockwise a few turns to get the pump to run. After some trial and error the vacuum was set a -21" of Hg. The vacuum held without any movement of the needle on the gauge. A second test was performed. A small piece of electrician's tape was held tightly over the connector port. The vacuum handle was opened by turning it ccw. Again there was no needle movement over a minute. All of the plumbing seals well.
The next test is the vacuum frame. This needs to be evacuated, but some leakage is expected. We were instructed to shoot for 5 - 7 minutes between pump cycles. The frame was hooked up with the provided vacuum tubing. Vacuum was applied. The pump cycled every 2.5 - 3 minutes. Epoxy was put on all of the nail heads that had not gotten epoxy above. A larger batch of epoxy was made and the edges of the melamine and the underlying plywood were sealed. An acid brush was used to paint the epoxy on. I plan to seal around the edge of the plastic clamp with silicone caulk, when there is sufficient room in the shop.
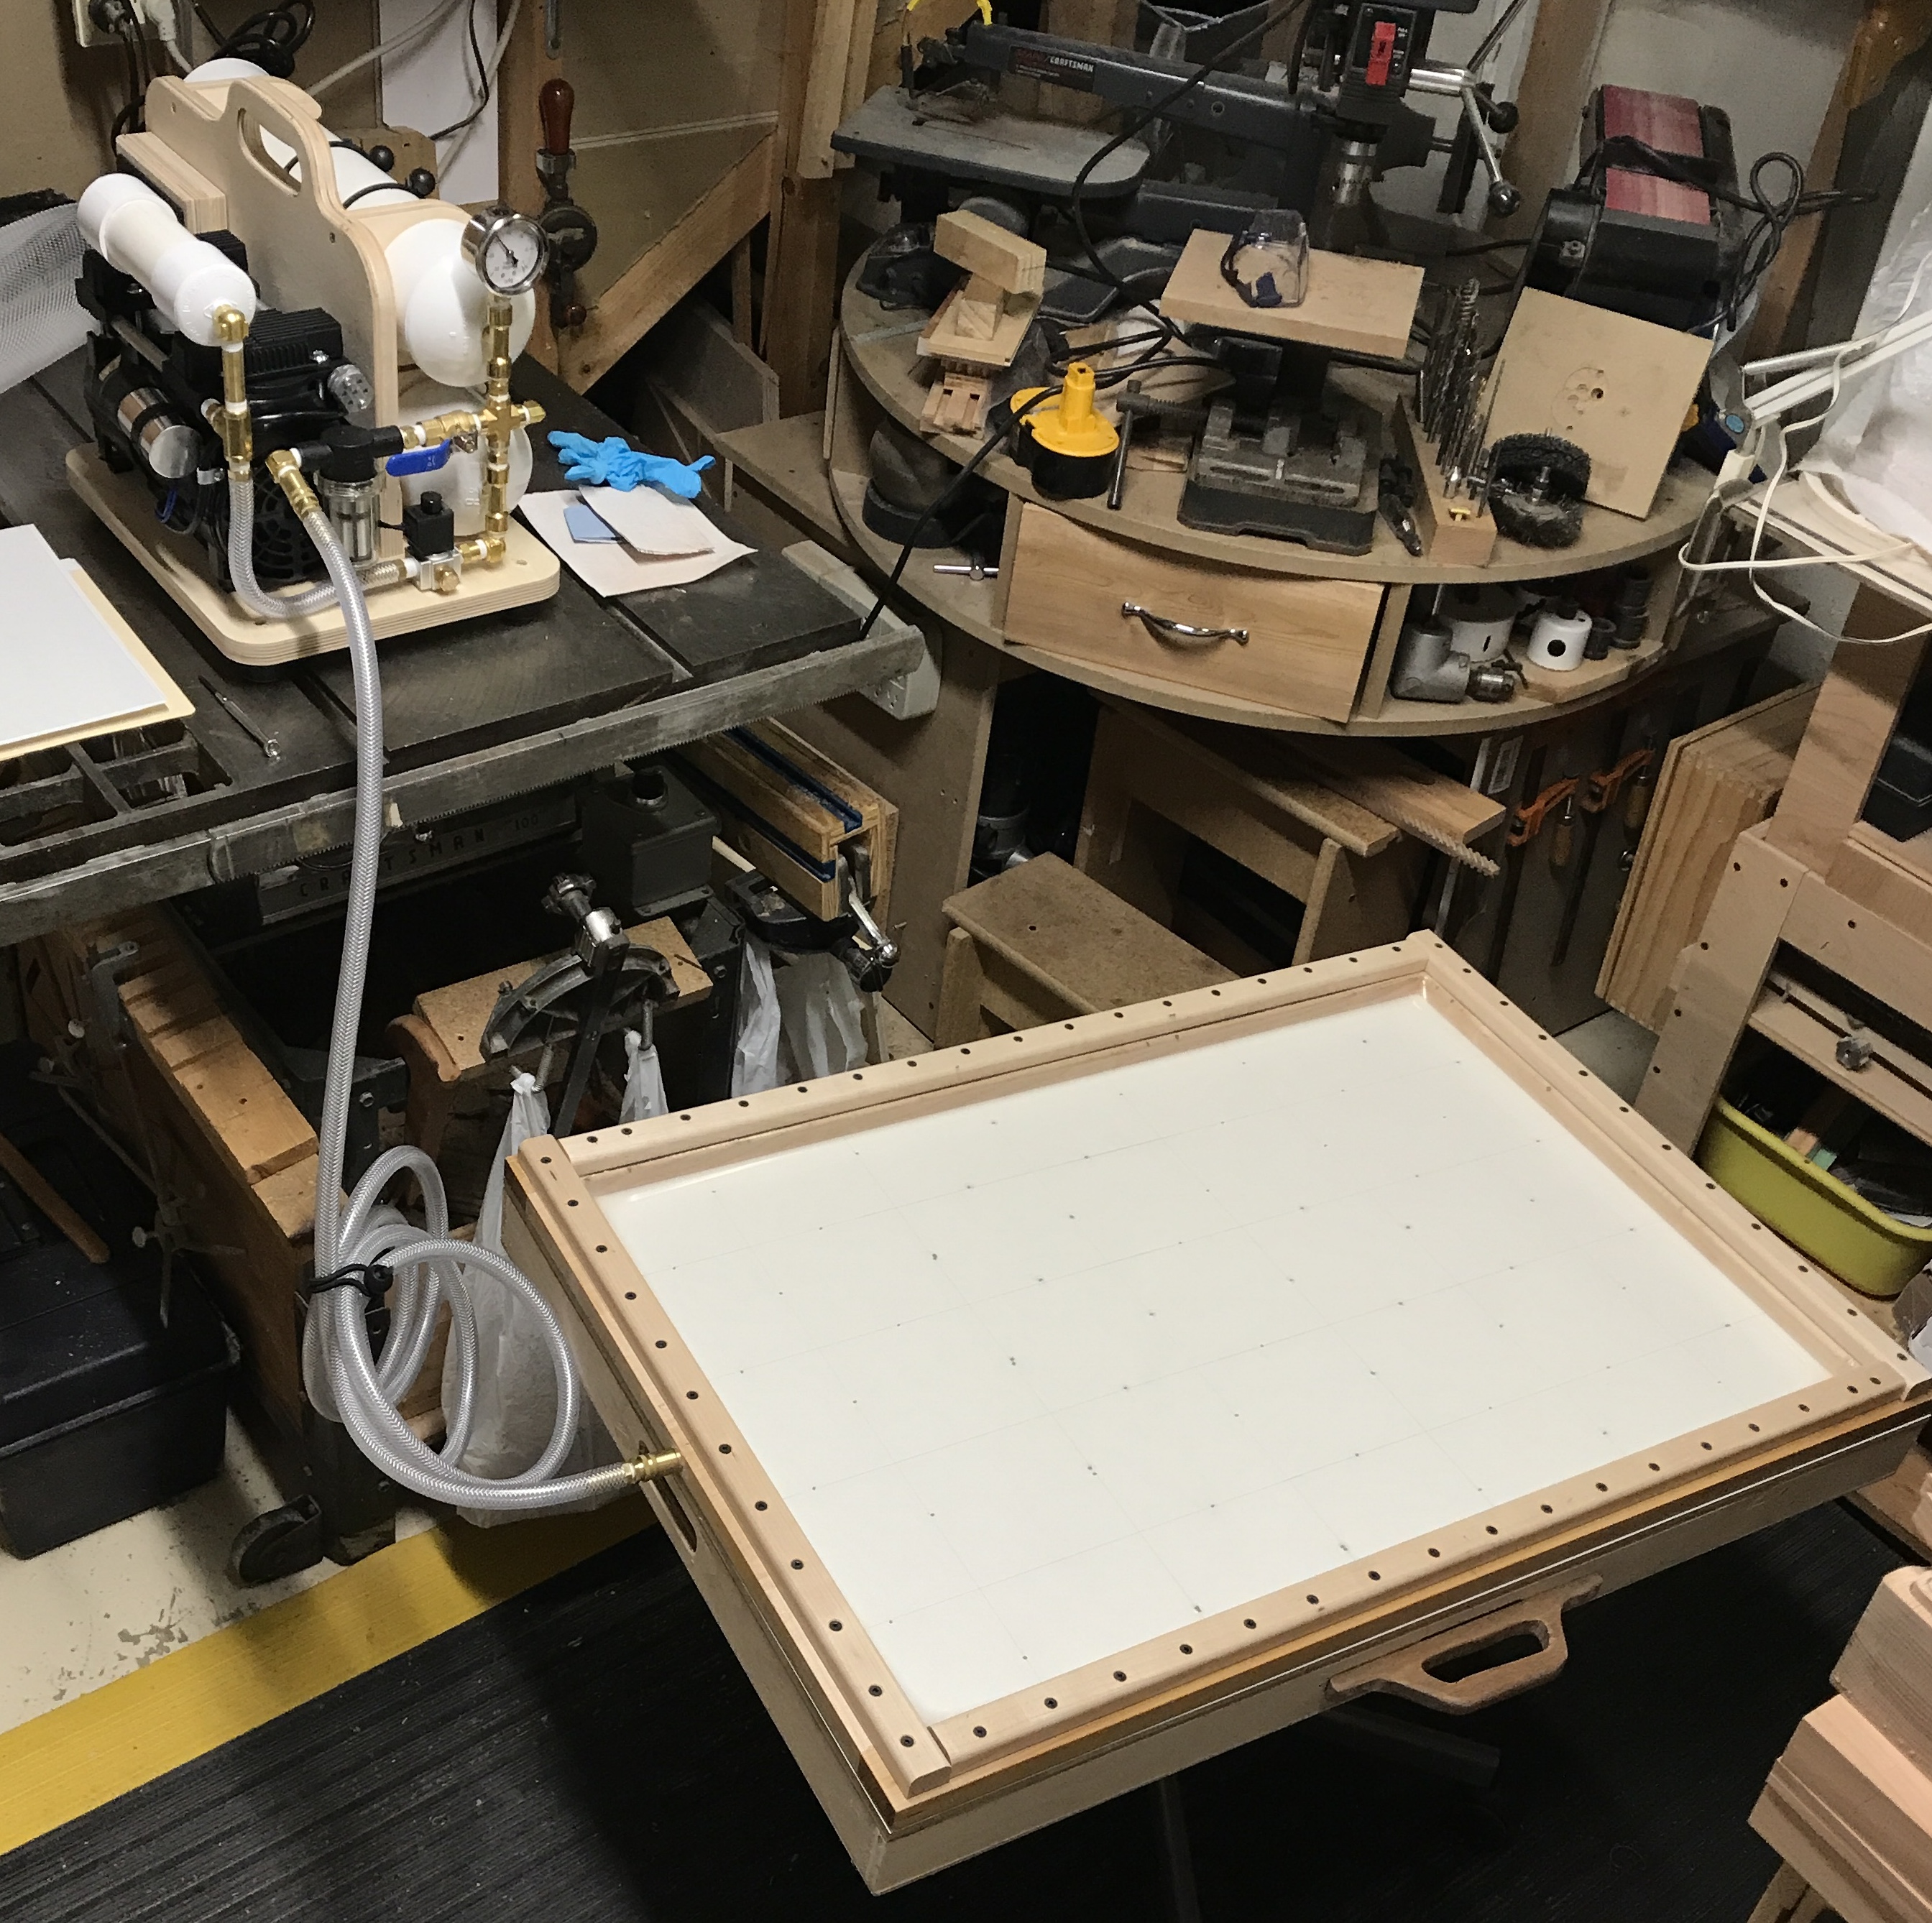
Meant to test the vacuum press this morning. The epoxy is still a bit sticky, so the test will wait for tomorrow. Next day the epoxy is still sticky, implying the ratio of the two parts was not close enough to 1:1. I tested the vacuum anyway. The time between pump runs is now up to 3.5 minutes. Still not good enough. The frame needs to be sealed with silicone. I found a tube of clear silicone caulk and used it all around the outer edge of the frame pieces holding down the plastic. Not the prettiest job. The caulk needs to dry for 24 hours.
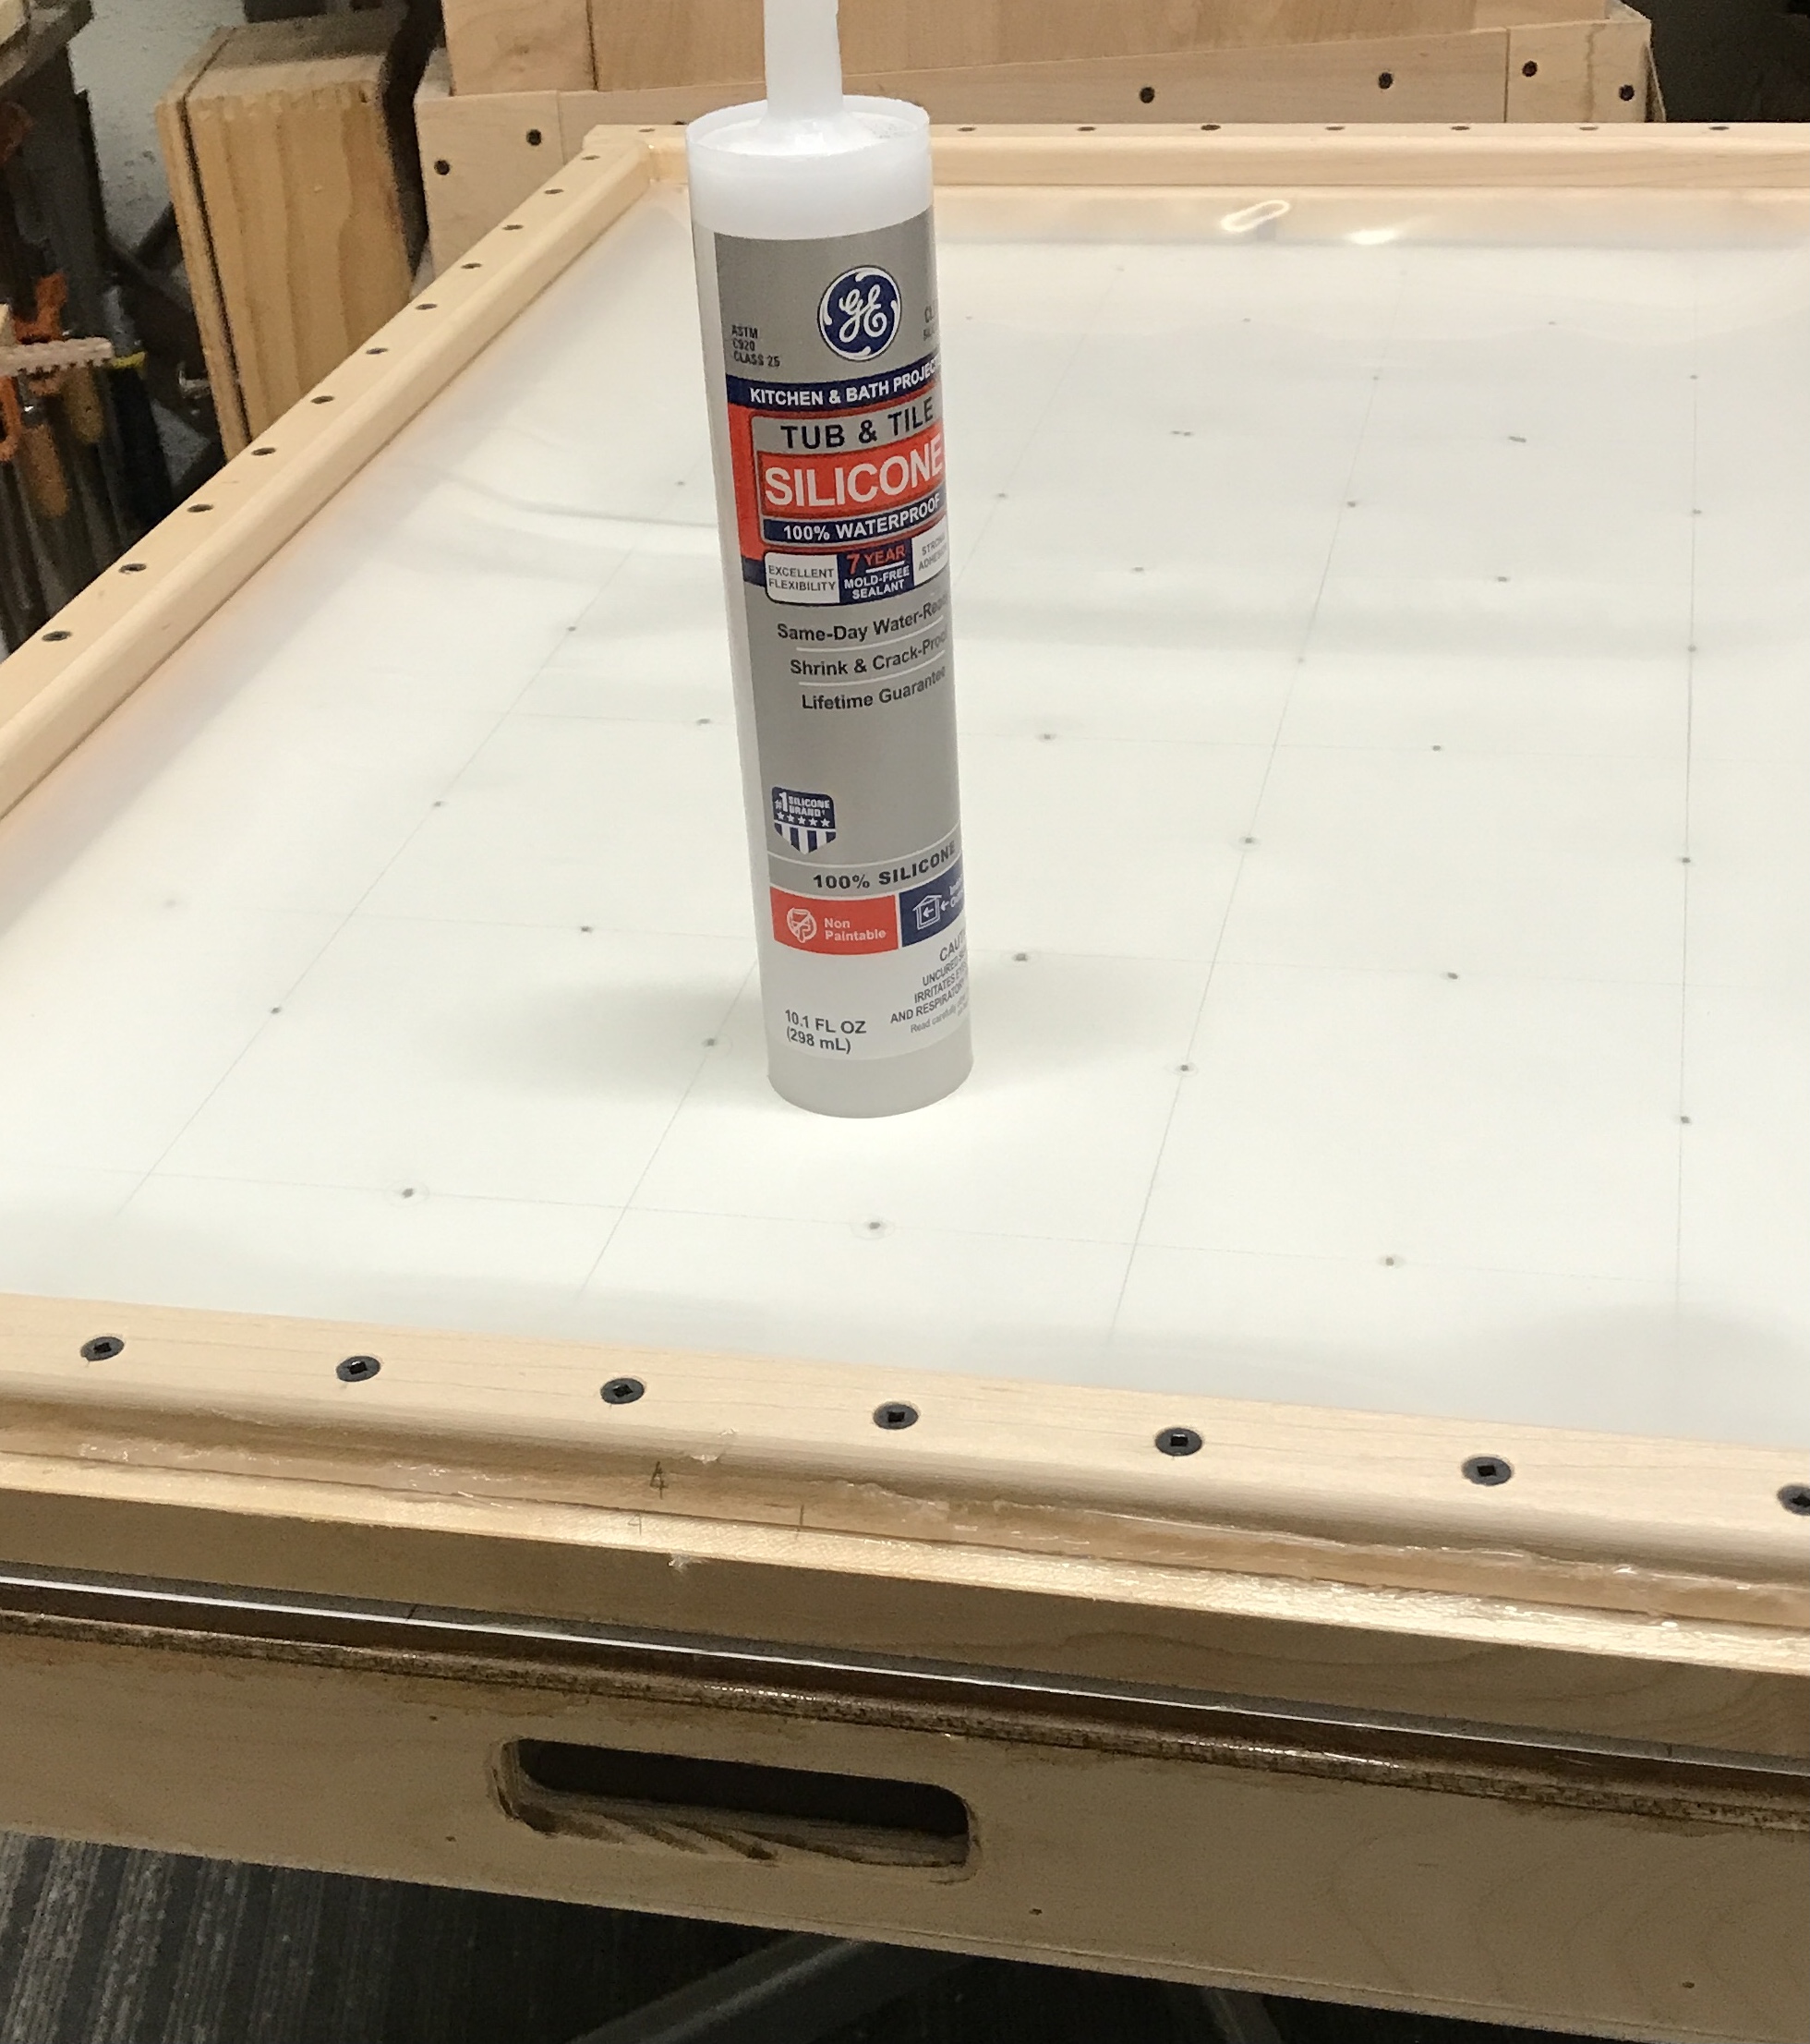
The vinegar smell reminds me of the interview I had with GE in 1981. They were looking for a chemist to tackle the vinegar smell given off by the polymerizing caulk. The polymerization gives off acetic acid and they sought an odor-free alternative. I guess they never found their replacement.
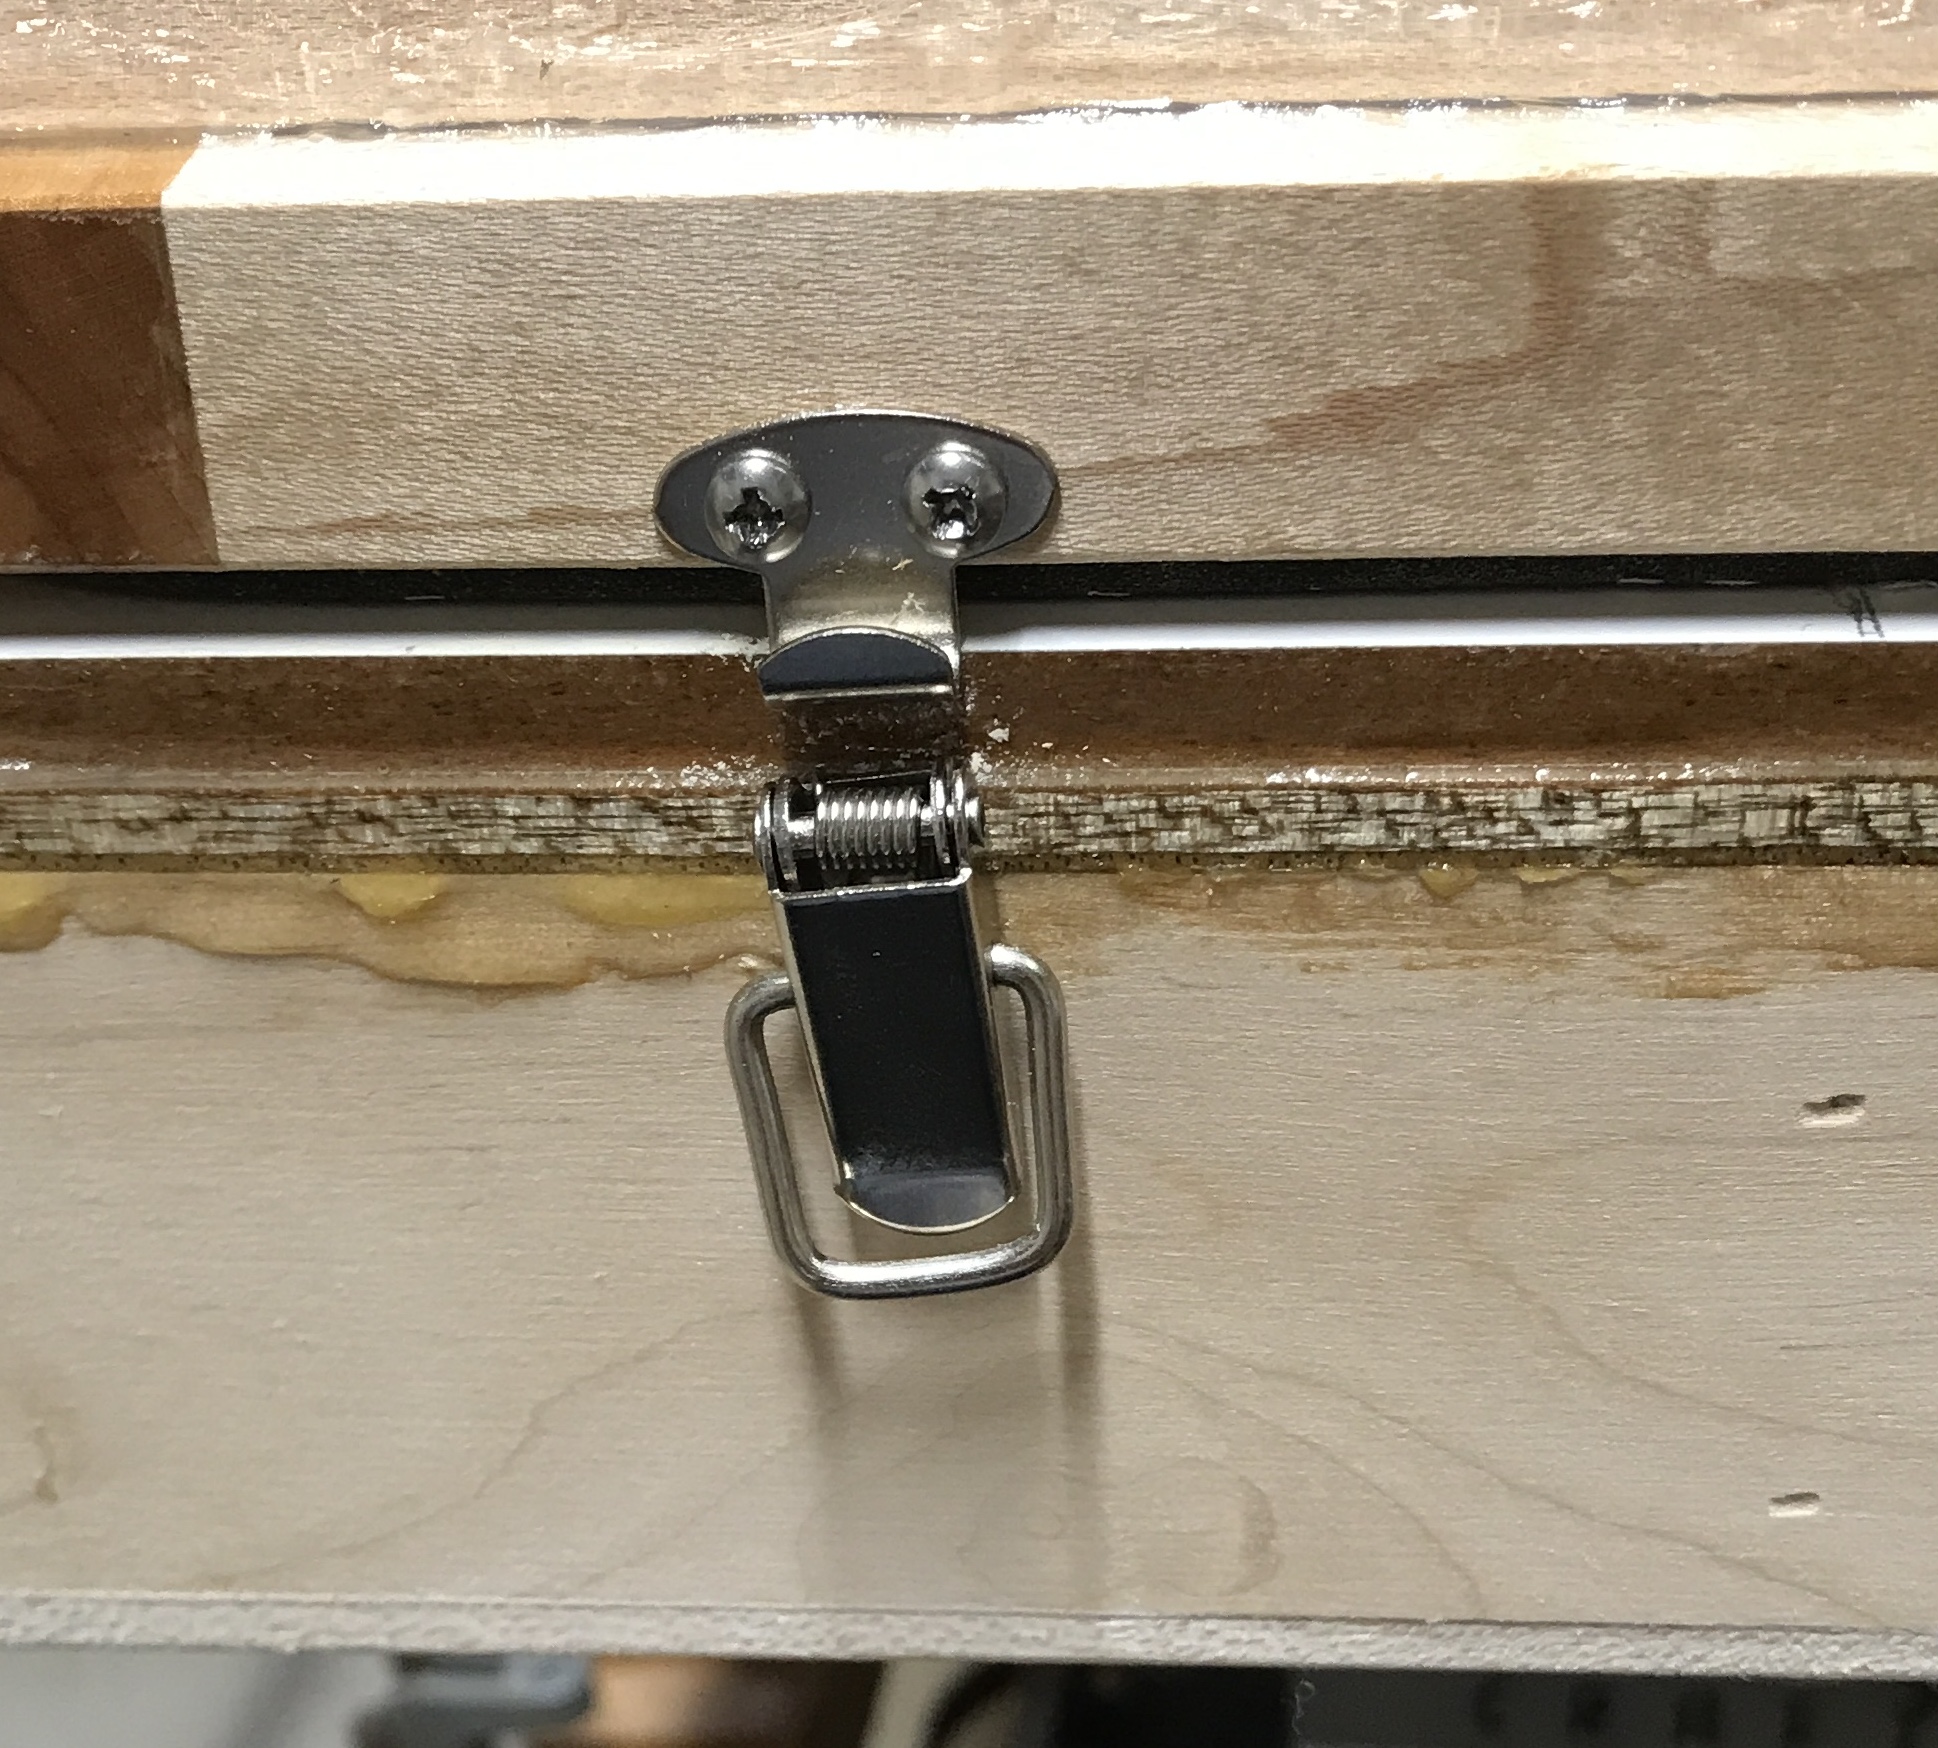
The caulking only raised the time between pump cycles to four minutes. The problem may be the epoxy that still does not seem to be completely cured. After another two days the epoxy is still sticky. The clips for holding the top in place were put on this morning. The picture below shows the last of the four clips installed, two on the bottom and one on either side. The pump and frame were moved to the garage. The pump sits between the lathe and the workbench on a small table. The frame was muscled behind the lathe.